In this post, you'll learn ...
- The proper steps for preparing your patio for the spring and summer months.
- The tools and cleaning supplies you will need to clean your patio.
Spring has sprung and people are going to start flocking to barbecues, pool parties, and outdoor birthday bashes. They've been trapped inside due to a remorseless winter and want to get outside and enjoy the fresh air. So now you have to get your patio ready for the company that will join you in the warm months ahead.
Your patio may look like a mess now with the snow shovel leaning against the sliding door and that torn blue tarp over the grill, but there are ways to make your patio sparkle again. All it takes is some courage with cleaning supplies, a few easily accessible materials and tools, and a nice warm day to work outside.
Patio Cleaning Step-by-Step
Step One: Move Everything Off of Your Patio
To clean anything properly, it's best to remove anything obstructing the surface. You can’t dust correctly if you leave the lamp on the table. So, the first step is to remove those objects. That means the grill, the potted plants, the action figures, the weeds sprouting up between the cracks, and the moldy snow boots. Leave nothing on your patio surface.
Removing those objects that have been hibernating all winter can be a messy job. Make sure you use gloves and wear old clothes. Then find those irritating weeds and pluck them up before you let any chemicals touch your patio.
Step Two: Break Out the Broom
Next, you should give your patio surface a good sweep. It is the same idea as mopping your kitchen floor. You sweep to help keep your water as clean as possible when you scrub. You don’t want to rub stains all over the area you need to clean.

Step Three: Get Scrubbing
Now it is time for the messiest part, the chemical scrubbing. Once you start using your cleaning supplies, keep the children and the dogs away until you are done cleaning. For this job, you'll need to have your old clothes and your gloves, as well as some goggles and the proper tools.
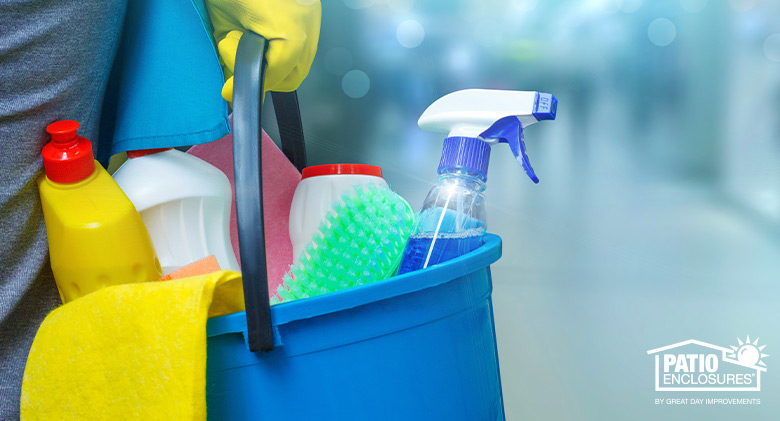
To scrub your patio, you will need:
- Either a water hose or a pressure washer depending on the condition of your surface
- A bucket to mix your chemicals
- A tough scrubbing brush
- The proper cleaning products
- A tarp if you don’t want to harm your flowers and other plants
Use your water hose or pressure washer and give your patio surface a good shower first. Wash away all the filth that is only weakly hanging onto your surface. It is unnecessary to scrub the whole patio when most of the stains may be removed with a powerful blast of water. It saves you and your back some aggravating strain. It also makes it easy to locate tough spots.
Step Four: Choose Your Patio Cleaning Solution
Now you're ready to add the cleaner. The type you use will depend on the surface of your patio. It can be a very complex process, but to make things simple, there are two main types of patio surfaces: natural stone and manufactured stone, such as brick or concrete.
Natural stone is harder to clean because it hasn't been through a refining process. It'll get dirtier quicker and will require more tender care. It spoils easier just like natural bread can’t outlast a loaf of store bread with preservatives.

With a natural surface, you either need to use a specialized cleaner, or you can get away with brown soap. Brown soap is very gentle and forgiving on surfaces. Soda crystals may also work on a natural surface depending on the extremity of the stains. Either way, a natural stone surface doesn't permit tough cleaning products like bleach to be used. They lead to discoloration and wear on your patio.
The manufactured paving stones though, like brick and concrete, have been put through the factory and refinery. They can handle bleach water or even non-diluted bleach. Depending on the number of dark stains, mold, moss, sap, grease, or any other stain, you might be required to pour bleach over the surface and let it sit to dissolve the stain.
For less extreme conditions, dilute the bleach with the water and scrub the surface with a soft-bristled brush. When you're done, use the hose or pressure washer and drench the surface. You should see your patio shimmering again in no time with just a little bit of work.
Step Five: Finishing Touches
Finally, to give your patio that springtime appeal that it needs, clean all the objects that normally sit on the patio and place them back where they belong. Now that your patio is clean, the neighbors can enjoy your backyard while you grill burgers and hotdogs for them. And you can have pride that you have a clean patio for the summer ahead.

Protect Your Patio with a Patio Cover or Enclosure
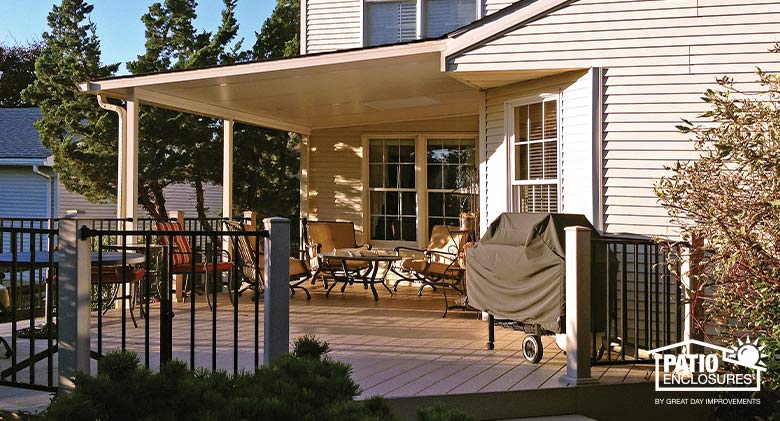
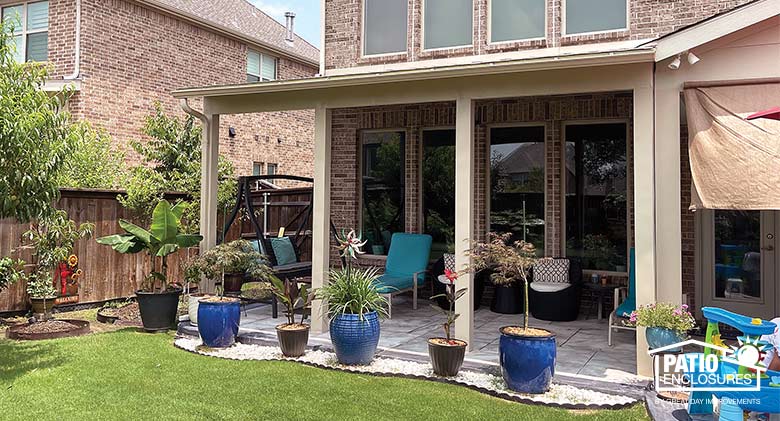
Once your patio is clean and bright, you'll likely want to spend more time on it. Consider a stationary patio cover to protect you from the hot sun or even to enjoy your patio in the rain. With a patio cover, your barbecues will never be rained out.
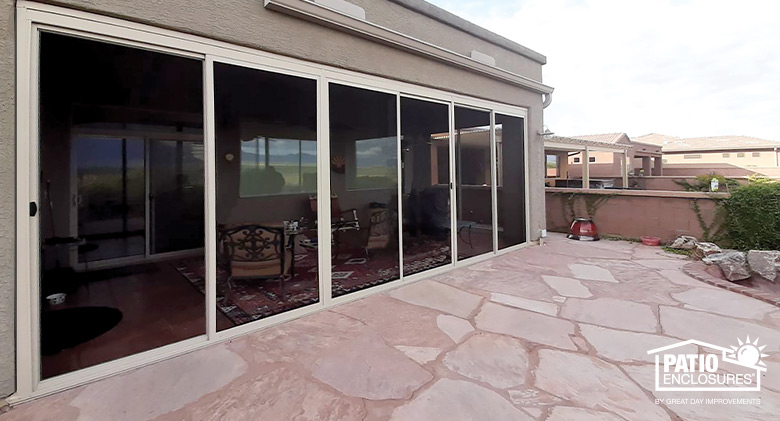
Want to avoid cleaning your patio in the future? Consider enclosing with glass to keep it clean and extend your use. Patio Enclosures can build a brand-new room or enclose an existing covered patio. Interested in covering your patio or enclosing the space? Contact us or schedule your free, in-home estimate today!
Learn More About Our Sunrooms
 You May Also Be Interested In: